
Breaking News: iPhone 15 Back Panel Repair Hacks You Need to See! Leave a comment
In a world where our lives are intertwined with technology, smartphones have become indispensable. The iPhone, in particular, has set the standard for innovation and functionality. However, no matter how advanced these devices are, accidents happen, and sometimes, your beloved iPhone’s back panel may suffer damage. Fear not, as we unveil some ingenious iPhone 15 back panel repair hacks that will leave you amazed. Let’s dive into these secrets that can save your precious device.
1. Identifying the Damage
Before embarking on any repair journey, it’s crucial to identify the extent of the damage. Carefully examine your iPhone 15’s back panel. Is it a minor scratch, a cracked panel, or something more severe? Knowing the severity of the damage will help you determine the appropriate course of action.
2. DIY Repair Kit Essentials
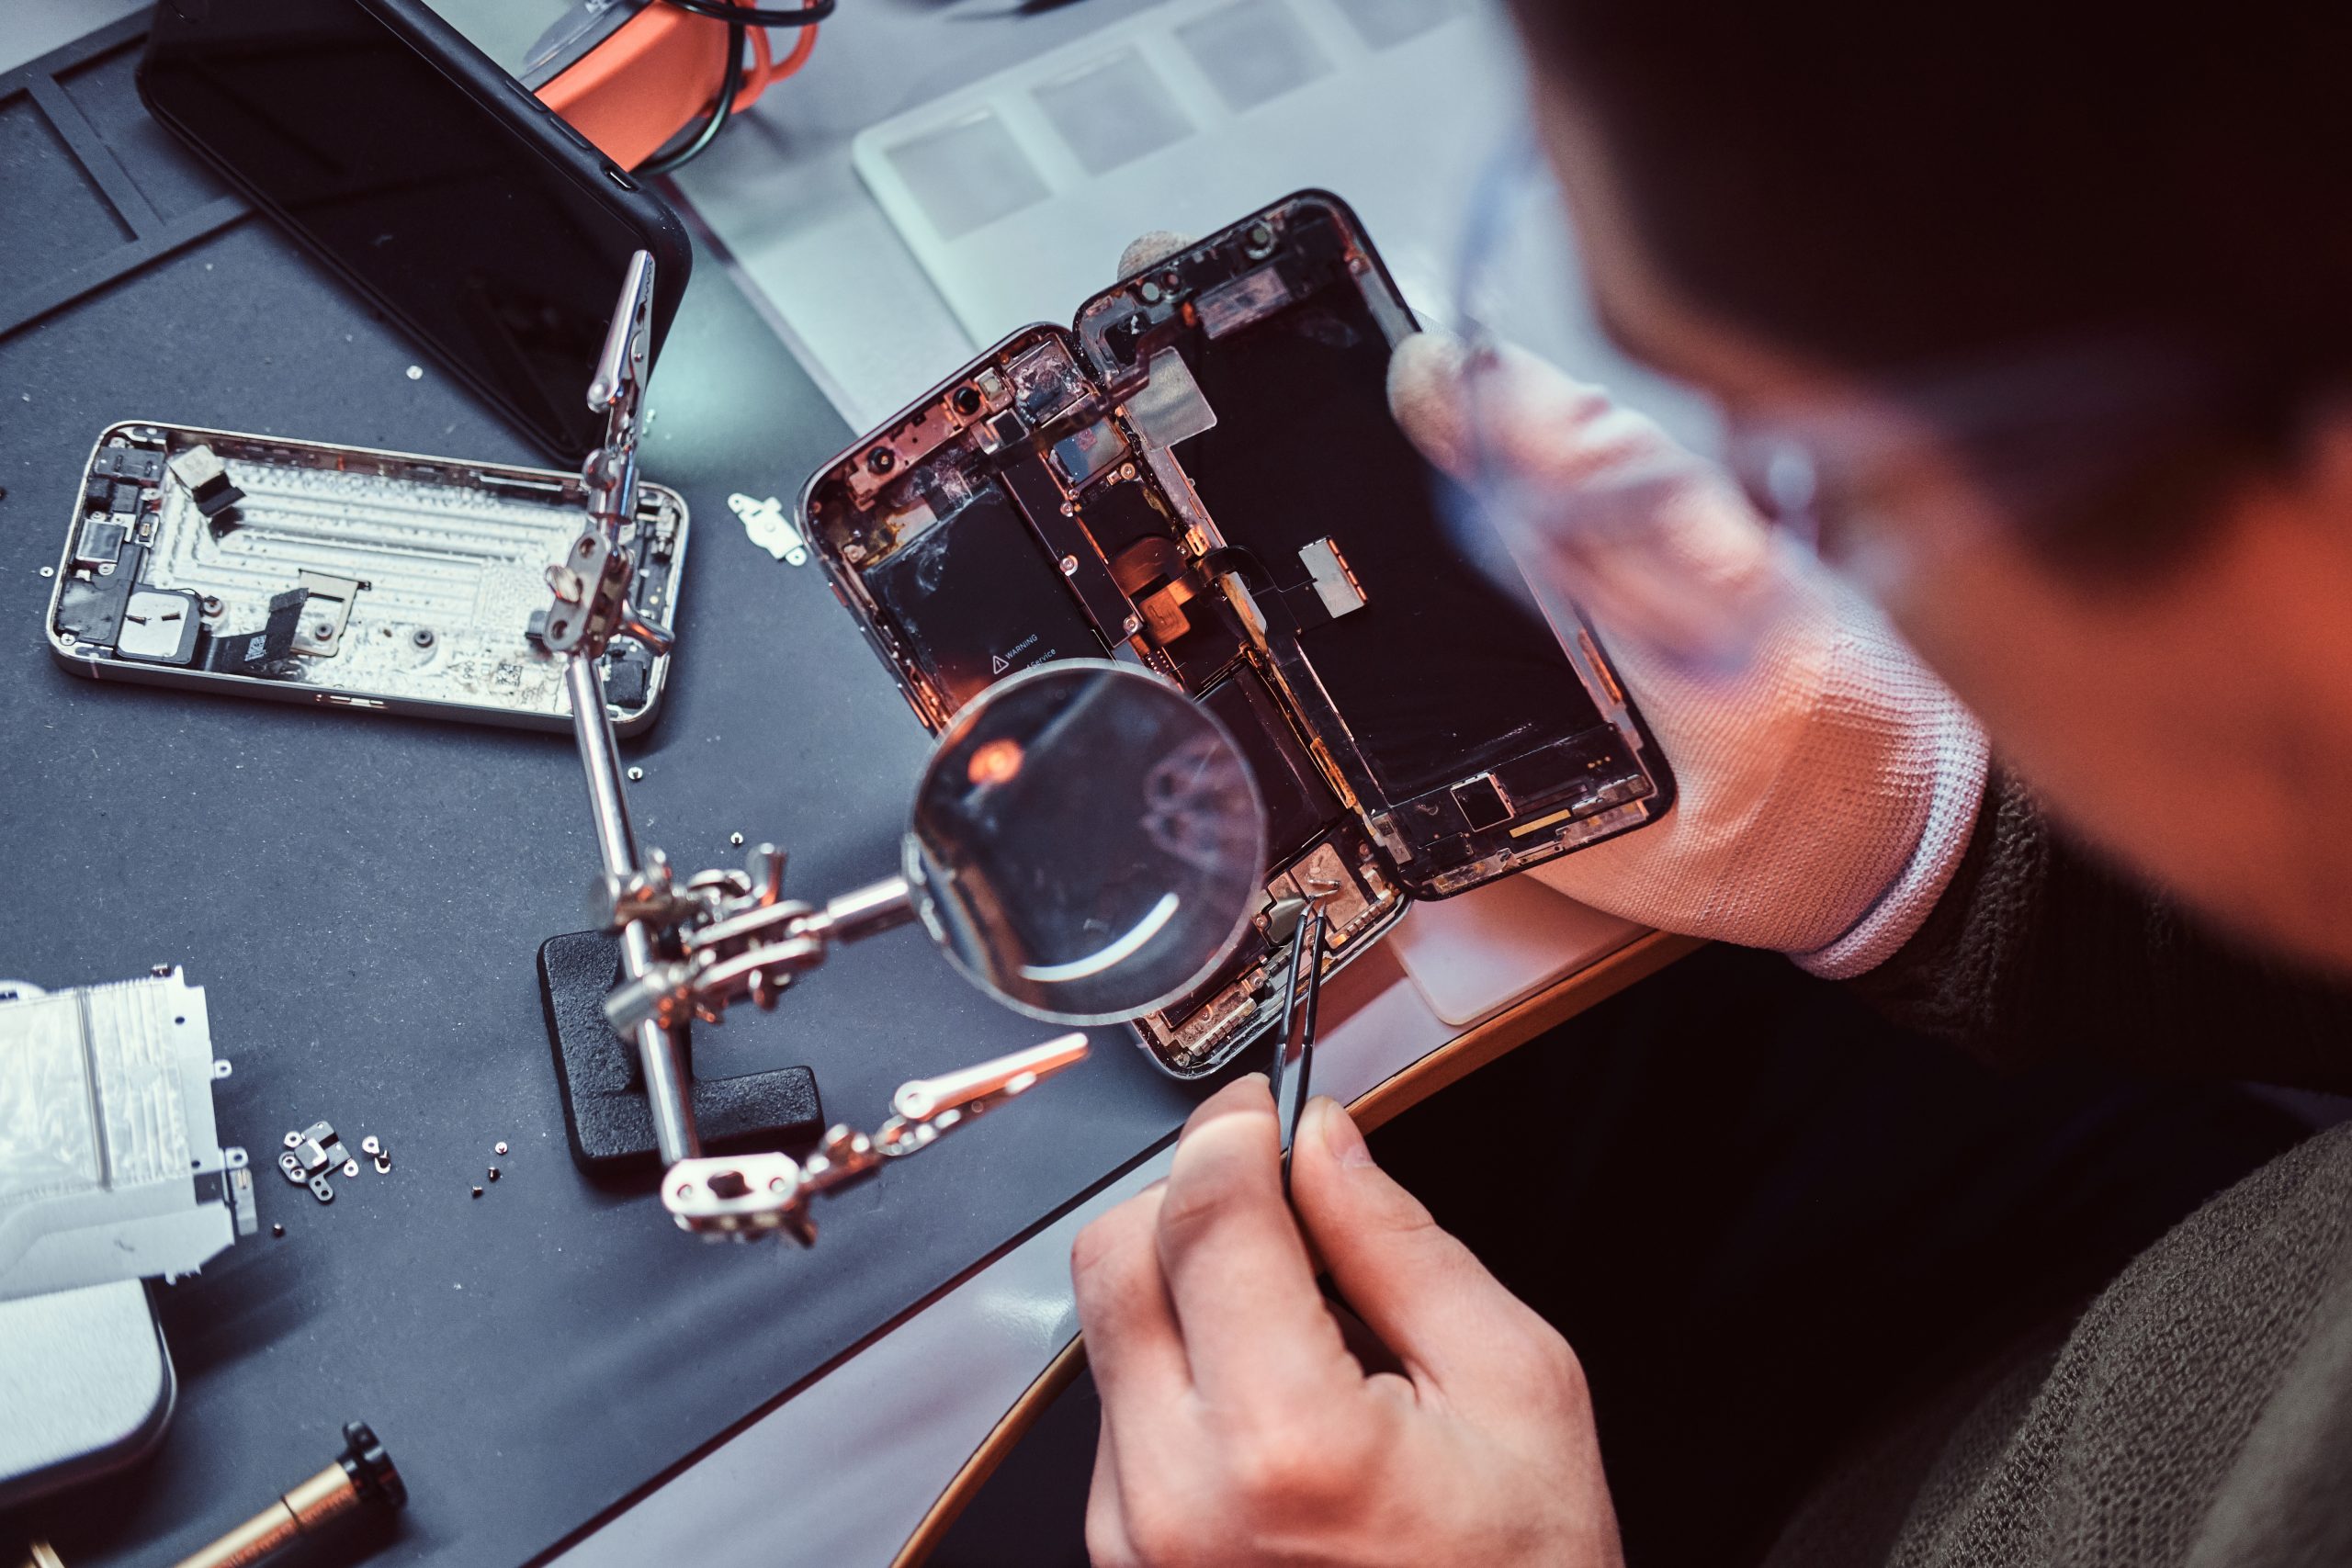
For minor scratches and cracks, a DIY repair kit can be your savior. These kits usually include a back panel replacement, a screwdriver, adhesive, and detailed instructions. Make sure you have all the necessary tools before you begin.
3. Back Panel Replacement
Start by turning off your iPhone 15 and removing any existing case or cover. Use the screwdriver from your DIY kit to carefully unscrew the damaged back panel. Once the screws are removed, gently detach the panel from the device.
4. Cleaning and Preparation
Before installing the new back panel, ensure that the area is clean and free from dust or debris. Use a microfiber cloth to wipe the surface clean. This step is crucial to ensure a secure and seamless fit for your replacement panel.
5. Applying Adhesive
The adhesive provided in your DIY kit is essential for a sturdy bond. Apply it evenly to the back of the replacement panel. Be sure not to overdo it; a little goes a long way.
6. Attaching the New Back Panel
Align the replacement back panel with the device and gently press it into place. Ensure that it fits snugly and securely. Carefully reattach the screws using the screwdriver, being cautious not to overtighten them.
7. Testing
Once you’ve successfully replaced the back panel, power on your iPhone 15. Test all functions, including the camera, buttons, and wireless charging, to ensure everything is working as expected.
8. Professional Repair Services
For more complex damage or if you’re uncomfortable with DIY repairs, consider seeking professional repair services. Authorized Apple service centers and certified technicians have the expertise to handle intricate repairs, ensuring the longevity of your device.
9. Protective Measures
To prevent future damage to your iPhone 15’s back panel, invest in a high-quality protective case or a tempered glass back protector. These accessories can significantly reduce the risk of scratches and cracks.
10. Conclusion
In conclusion, a damaged back panel on your iPhone 15 can be a distressing sight, but it doesn’t have to be a permanent issue. With the right tools, knowledge, and a bit of patience, you can successfully repair minor damage yourself. However, for more complex issues, it’s advisable to turn to professional repair services. Remember to take preventive measures to safeguard your device from future damage. By following these back panel repair hacks, you can ensure that your iPhone 15 continues to shine and function flawlessly.